
How Do You Install an In-Ground Dog Fence? A Step-by-Step Guide for Pet Owners
author: Matthew TIZE
2025-02-26
If you’re a dog owner looking to give your furry friend freedom to roam while keeping them safely within your property, an in-ground dog fence might be the perfect solution. Unlike traditional fences, these systems use buried wires and customizable settings to create invisible boundaries. But how exactly do you tackle in-ground pet fence installation? This guide will walk you through everything you need to know, from understanding the basics to completing a professional-grade setup.
---
What Is an In-Ground Dog Fence?
An in-ground dog fence, also known as an underground electric dog fence, is a containment system that uses a buried wire to create a boundary for your pet. When your dog approaches the edge of the designated area, a collar receiver emits a warning sound or mild static correction to deter them from crossing. These systems are ideal for homeowners who want to maintain their yard’s aesthetics while ensuring their dog’s safety.
Key benefits include:
- Customizable boundaries: Shape the wire layout to fit irregular yards.
- No visual obstruction: Keep your landscaping intact.
- Cost-effective: Often cheaper than traditional fencing.
Whether you’re considering in-ground dog fence installation for a small backyard or a sprawling property, the process follows similar principles. Let’s dive into the steps.

Step 1: Plan Your Layout
Before digging, sketch your yard and decide where to place the boundary wire. Consider:
- Avoiding obstacles: Steer clear of driveways, large trees, or utility lines.
- Safety zones: Keep the wire at least 3–5 feet away from roads or hazards.
- Power source proximity: Ensure the transmitter can reach the entire loop.
Pro tip: Use flags or chalk to mark the wire path visually. This simplifies adjustments before starting installing in ground electric dog fence work.
---
Step 2: Gather Tools and Materials
Most in-ground fence kits include wire, a transmitter, collar receivers, and flags. You’ll also need:
- A shovel or trenching tool
- Wire strippers
- Waterproof splice kits (for joining wire segments)
- A lawn roller (optional, for reseeding post-installation)
Double-check the kit’s range to ensure it matches your yard size.
---
Step 3: Bury the Boundary Wire
This is the most labor-intensive part of in ground pet fence installation. Follow these steps:
1. Dig a narrow trench (1–3 inches deep) along your marked path.
2. Lay the wire in the trench, keeping it slack to prevent breaks from soil shifts.
3. Connect the wire ends to the transmitter, forming a continuous loop.
For large yards, split the wire into multiple loops connected to the same transmitter. Avoid overlapping wires, as this can cause signal interference.
---
Step 4: Install the Transmitter
Mount the transmitter in a dry, indoor location (e.g., a garage or basement). Key tips:
- Keep it elevated to avoid water damage.
- Plug it into a GFCI outlet for safety.
- Adjust boundary width settings based on your dog’s size and temperament.
---
Step 5: Test the System
Before reintroducing your dog to the yard, verify the fence’s functionality:
1. Walk the boundary with the dog’s collar in “test mode” to ensure consistent signals.
2. Check for “dead zones” where the signal drops.
3. Adjust wire depth or transmitter settings if needed.
This step is critical for avoiding surprises after **installing in ground electric dog fence** systems.
---
Step 6: Train Your Dog
Even the best in-ground dog fence installation won’t work without proper training. Use the included flags to teach boundaries:
1. Leash training: Walk your dog near the flags, rewarding them for retreating after hearing the warning beep.
2. Supervised exploration: Let them explore off-leash while monitoring reactions.
3. Positive reinforcement: Praise or treat them for respecting the boundary.
Most dogs learn within 2–4 weeks. Remove flags gradually as they adapt.

Common Installation Mistakes to Avoid
- Burying wire too deep: Signals weaken if wires exceed 3 inches.
- Ignoring wire breaks: Use a wire break detector to troubleshoot.
- Skipping training: The fence is a tool, not a standalone solution.
---
Why Professional Installation Might Be Worth It
While DIY in ground pet fence installation saves money, hiring a pro ensures:
- Precision wire placement
- System calibration for stubborn dogs
- Warranties on labor and parts
For complex layouts or rocky soil, professionals can streamline the process.
---
Conclusion
An in-ground dog fence offers flexibility and peace of mind for pet owners. By following these steps—planning meticulously, burying wires carefully, and training patiently—you’ll master installing in ground electric dog fence systems like a pro. Remember, consistency is key: Regularly test the system and refresh your dog’s training to maintain a safe, happy yard for years to come.
Whether you DIY or hire help, this invisible solution keeps your pup secure without compromising your home’s curb appeal. Ready to reclaim your yard? Your dog (and your flower beds) will thank you!
Wireless Dog Fence or In-Ground Dog Fence: Which is Best for My Dog?
How Do You Install a Wireless Dog Fence? A Step-by-Step Guide for Pet Owners
Related Article
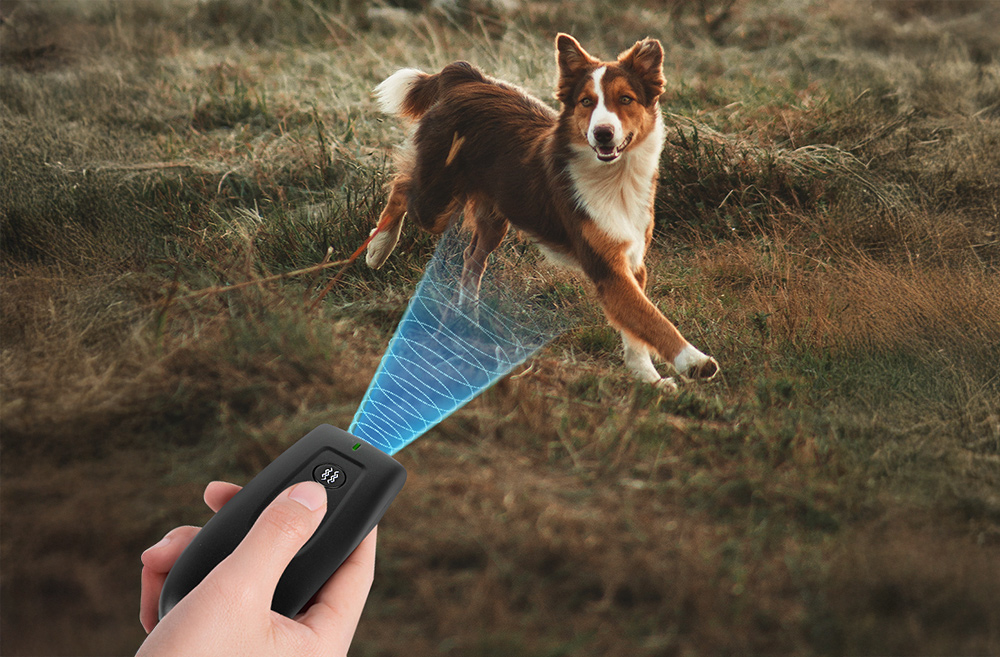
Generally, most veterinary behaviorists do not recommend ultrasonic bark devices for daily, long-term pet training due to anxiety risks and its nature as an aversive method. However, vets agree their recommendation depends heavily on the context.
Do Vets Recommend Ultrasonic Bark Stoppers?
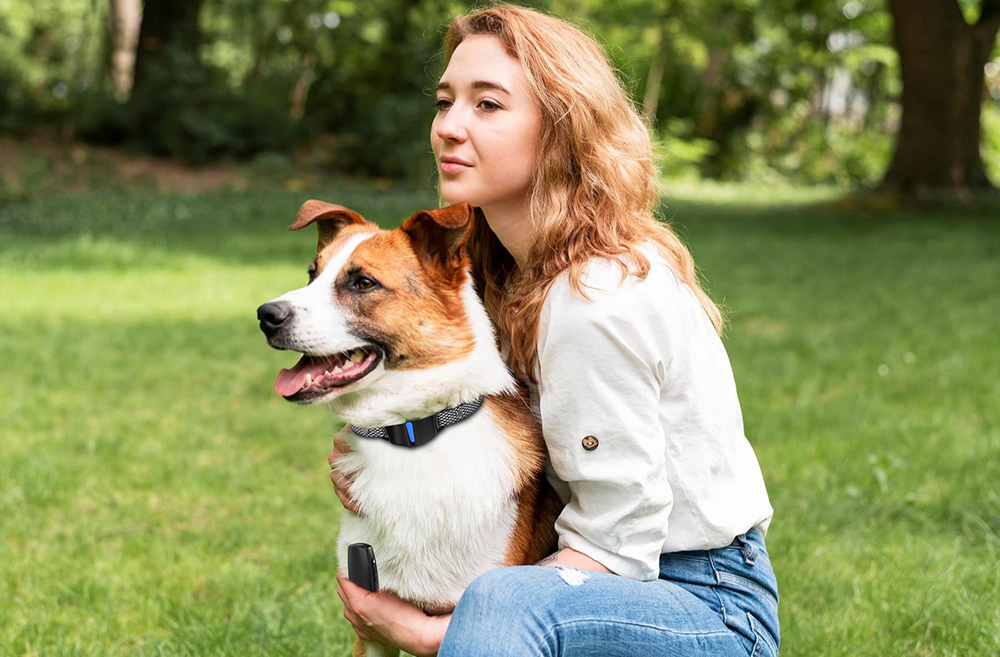
This guide breaks down the four most effective dog barking training tool types, explains how to use them, and helps you pick the right fit for your dog.
What Dog Training Tools Help with Barking?


SEND MESSAGE